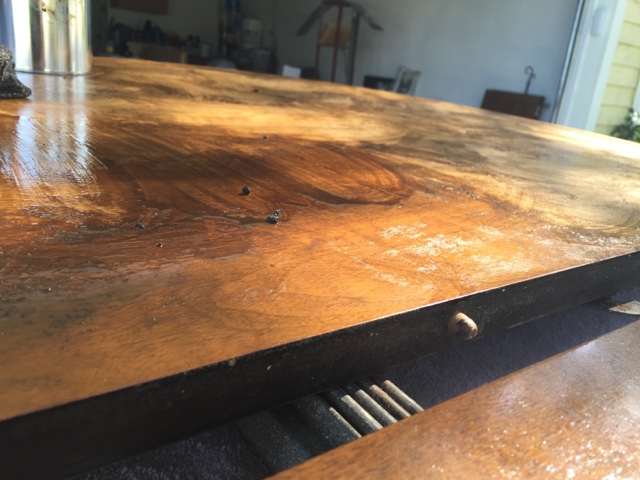
But, I fell in love with a dining room table at a local thrift shop. It has perched up in a corner, no legs attached and was just calling my name.
This particular happened to be 50% off that day. So I got a dresser for $30 and this table for $75. But, there was a major problem. It looked like this.
Yikes, right?
Yeah, mom and I thought we could use some product to take that green fuzzy stuff right off. Well, after a ton of product... We failed. I was so devastated. We were going to have to remove the finish. Boo!!
So, some more Formby's it is. It was heartbreaking for me but I was now determined to make it beautiful again.
I'm not going to lie... It took A LOT of Formby's. This project was so tough.
It just kept spreading and spreading. Ugh so gross.
After it drying and some sanding. We could sand it. Initially, we tried the stain with the polyurethane in it and it just wasn't working. It was a Honey color and it added nothing. So, add in some more sanding and the espresso stain and we were golden. 3 coats later and this is the top of my beautiful table.
Yay! So a few coats of polyurethane and we were ready to paint. You'll see why in a minute.
I ended up buying a paint sprayer to make my life easier. And yes, it was so much easier. Well worth it.
I sprayed the bottom of the table and the legs. And here's the finished product!
It comes with two leaves so we can add more seating. I'm so proud of this table.
I would say we probably spent $150 on the table and products. $200 at best. A few weekends of hard labor and we have a beautiful dining table.
Items like these make rehabbing worth it!
Pics of chair rehab coming soon :)


Yes it's work but look what you have. You wouldn't buy that for $200 !!!
ReplyDelete