Tuesday, April 19, 2016

Something old, something new

Ok, this project was a daunting task for a novice. 

But, I fell in love with a dining room table at a local thrift shop. It has perched up in a corner, no legs attached and was just calling my name. 

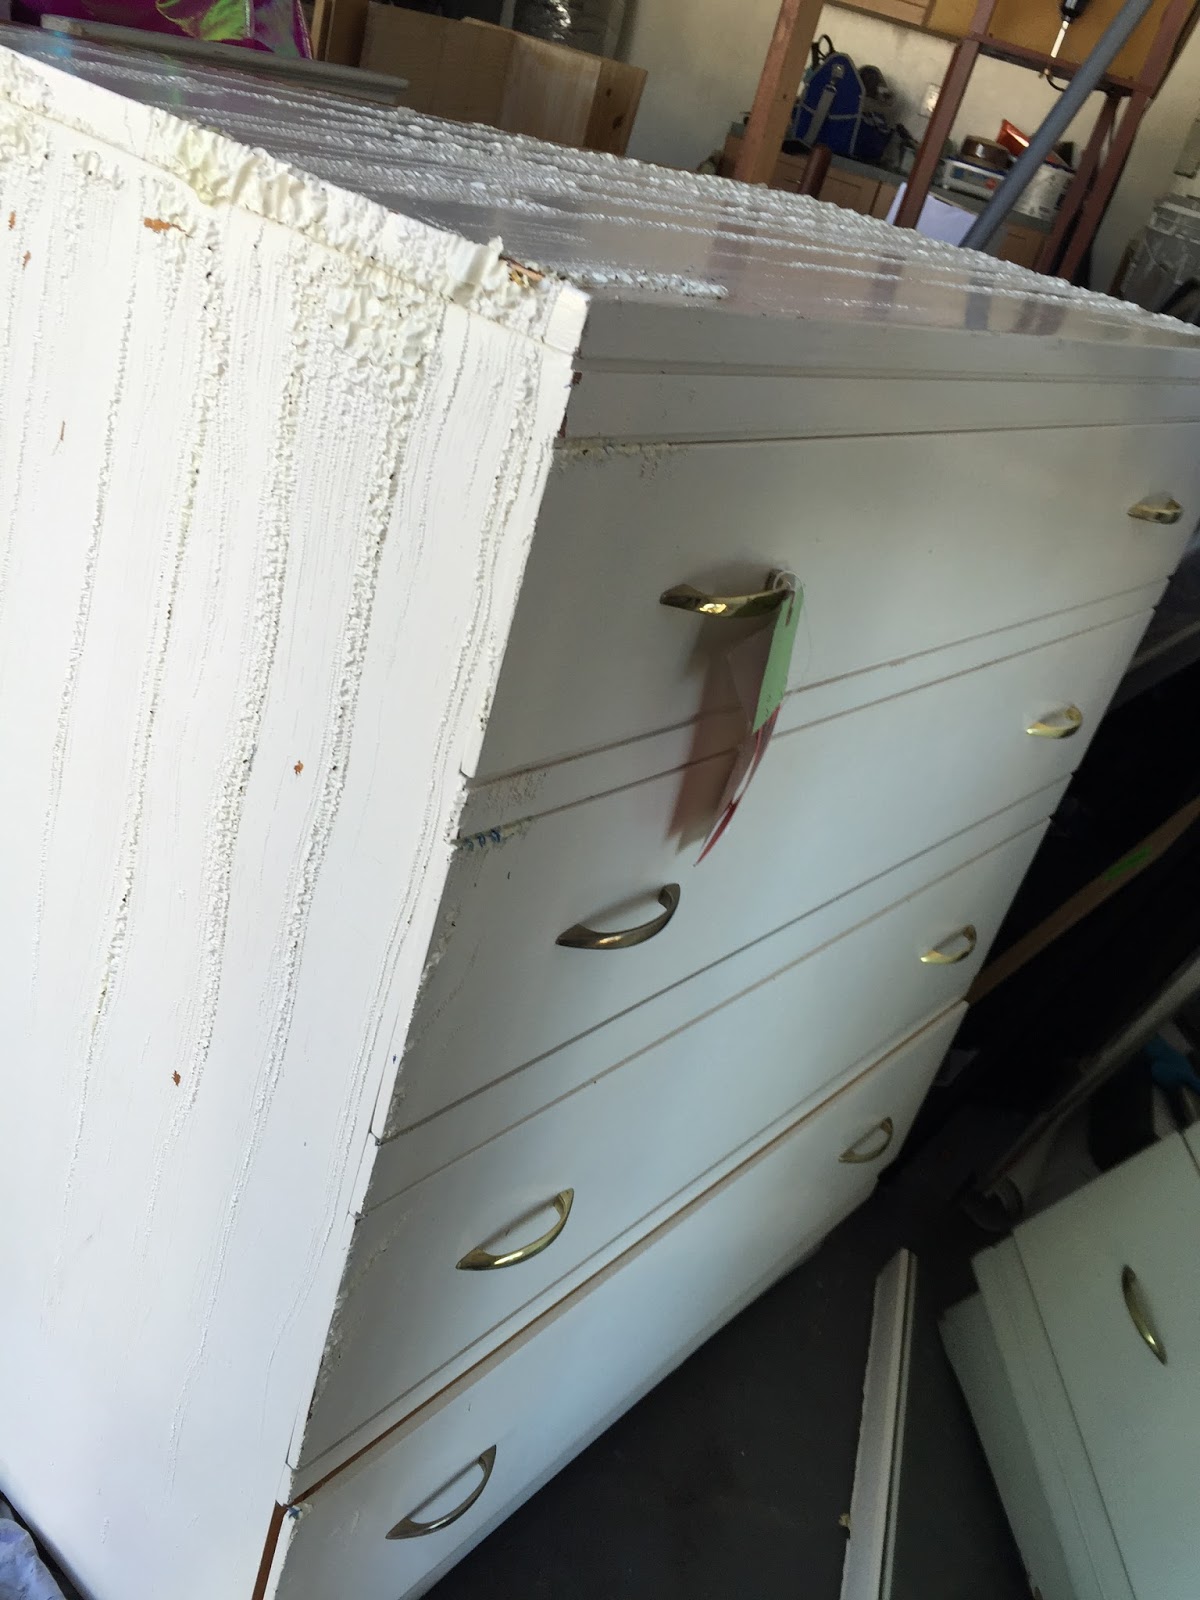
This particular happened to be 50% off that day. So I got a dresser for $30 and this table for $75. But, there was a major problem. It looked like this. 


Yikes, right? 

Yeah, mom and I thought we could use some product to take that green fuzzy stuff right off. Well, after a ton of product... We failed. I was so devastated. We were going to have to remove the finish. Boo!! 

So, some more Formby's it is. It was heartbreaking for me but I was now determined to make it beautiful again. 

I'm not going to lie... It took A LOT of Formby's. This project was so tough. 


It just kept spreading and spreading. Ugh so gross. 


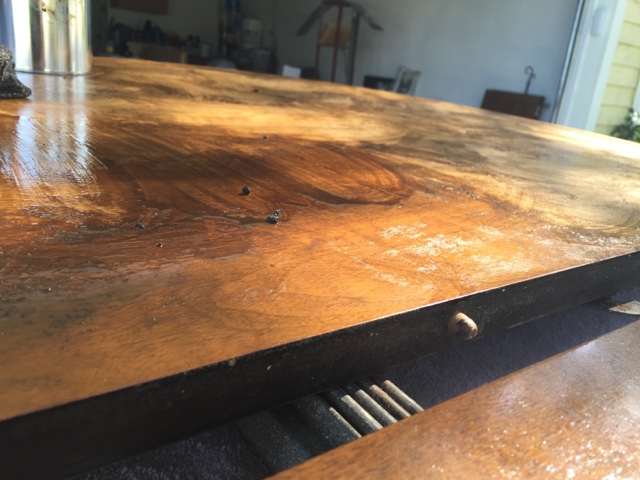
After it drying and some sanding. We could sand it. Initially, we tried the stain with the polyurethane in it and it just wasn't working. It was a Honey color and it added nothing. So, add in some more sanding and the espresso stain and we were golden. 3 coats later and this is the top of my beautiful table. 


Yay! So a few coats of polyurethane and we were ready to paint. You'll see why in a minute. 

I ended up buying a paint sprayer to make my life easier. And yes, it was so much easier. Well worth it. 

I sprayed the bottom of the table and the legs. And here's the finished product!


It comes with two leaves so we can add more seating. I'm so proud of this table. 

I would say we probably spent $150 on the table and products. $200 at best. A few weekends of hard labor and we have a beautiful dining table. 

Items like these make rehabbing worth it!

Pics of chair rehab coming soon :)


Saturday, April 16, 2016

Revamping the 1950s

When I think of design for our new house.. 1950s certainly isn't the style I was going for. We're not extremely modern people either but our style is probably more modern with a shabby chic touch? I don't know, I've never been very good at identifying my style.

I like everything. LOL

So, it did make furniture shopping hard. We were looking for solid wood pieces that we could stain or paint and make it match my husband's current dresser. 


We found this piece at one of our local Salvation Army's. It must've been there for a while because the manager let it go for $40. STEAL! The bumps in the paint were not there when we bought it. 

That's a paint remover. Forby's makes a Paint remover for furniture. We used that here to remove the paint. Terrible process but it works well. 


So, basically you paint this liquid on and let it set for 15 minutes or so. Then, you scrape it off. LOOK AT THAT WOOD!! I was so excited to see how beautiful it was underneath. 


Next-- the sanding. I have a love/hate relationship with sanding and for multiple different reasons. This project wasn't so bad. We used an 80 grit sand paper and removed what was left of the paint and made it smooth. We did uncover some issues on the bottom of the furniture. We had to replace it with this really, really thin wood (I can't think of what it's called but we got it at Woodcraft). It was simple. Glue and stick. 

The wood was so beautiful that we decided to stain the piece. We started with an Espresso color and didn't get the look I wanted. So, in the end we went with Ebony. 


Next, we polyurethaned the entire thing. 2-3 coats and called it a day. 

The whole project took probably 3 weekends total. Granted, I'm not spending all day every weekend of them but it still was a hassle. I would do some things during the week before work but still.. it took a while. If you ever use Formby's or a similar product.. GET GOOD GLOVES! That stuff does not feel good when it gets on your skin. 


We also bought new hardware. It looks similar to the old but it's a brushed metal rather than a gold and more square. This piece is probably is one of my favorites. I'm really proud of it. It was a lot of work but in the end.. it turned something that was old and dingy into something beautiful again. 

So, you may be wondering where am I getting the 1950s from this? Well.. we had to take the mirror off of its plastic pieces and there was a stamp on the back. Dated 1949. 

Do they even make furniture that will last that long anymore? I hope it will last for many more years! 

Thursday, April 14, 2016

Making old furniture new again

Let me say, I never thought I'd be good at this. But, I had some leftover cash and mom and I headed out to thrift stores, flea markets and garage sales. 

I'm not the best at seeing what things can be. I see it, think it's ugly, and move on. But, it's amazing what so paint or stain can do. 

I've also never used chalk paint. I know everyone raves about it and such but I'm a big fan of Valspar Furniture Paint. It's expensive but works fabulous. 


This was our starting project for the nightstands. We had been using old IKEA tables and I was ready for something new. We found these at a Hotel Liquidation Warehouse. They were more than I wanted to spend but they were exactly what I was looking for. 

I removed the drawer and door, along with the hardware. Lightly sanded it and began painting. 


2 counts of paint later and this is what we have! 


I bought some cheap black satin spray paint to do the inside.. Because who's really going to see that? It matches my husband's dresser almost perfect. 

This was by far the easiest of my projects and still took me a solid two days two compete. We let both of them dry for a week before we brought them inside.

We used probably half a quart (I think) of paint and a full can of spray paint. 

I'd say we came out with two nightstands for under $100! 


Reporter turned furniture flipper?!?


Ok, not really but it's been an adventure lately. 

Buying a house is taxing and you always feel like there's something that needs to be done... Especially when you buy a fixer upper. But honestly, we just can't afford to spend thousands on furniture. 

I'm back at work (Yay) full time and my life has never been crazier. I'm currently producing and I've really been enjoying my time off-air. 

However, I really wish we would've bought a house when I didn't have a job so I had time to do every project! Although, we would've been more broke! lol!

So back to my furniture flipping experience. Mom and I went thrift store shopping one weekend hoping to find a few things. I'm new to this but mom's a pro. (Why is she such a pro at everything?) So, she was able to steer me in the right direction and find all wood furniture. 

Everyone raves about chalk paint and maybe we'll do that some day but for now, we're going the old fashioned way. Sanding, removing pint... All the miserable stuff. 

Here's what we bought! 


The light colored nightstands came from a hotel liquidation warehouse. $40 each. Not the best deal but it was pretty much what I wanted. A drawer and cabinet to hide our crap!

The white chest is from 1949. It says so on the mirror. It came from the Salvation Army for $40, maybe $50. I can't remember. I forgot to take a picture before I started removing the paint but it wasn't pretty even before that lol

We also bought this beautiful table. Someone put the cover on it when it was wet and left all this fuzzy stuff on it. We paid $70 but it was originally priced at $275 from a little thrift store. 

Not pictured. We picked up a teal dresser for the guest room. $30, I think. Silly me forgot the before picture. 

I would say that was a pretty successful trip! To be honest, I doubted myself a lot. Looking at all this furniture in our garage... I just wasn't sure I could do it. I'm not crafty but I was determined. 

Next post... What the finished product looks like!