
When we first moved into our house I knew I would need to fix our closet. It just wasn't utilizing all the space it had... and I have a ton of clothes.

So, I used the 3 closets in our house for all of my stuff. LOL! But, with a baby on the way I needed to clean out the closets and consolidate. GOOD NEWS!! I was able to sell some items on Poshmark and pay for half the closet remodel and get rid of some clothes. The rest I'm going to donate.
I found this blog post on Pinterest and felt like it was a simple weekend project that my mom and I could do.
I was a bit wrong on that. This project took forever (2 1/2 weekends) and it was exhausting. BUT, I think, in the end, it was worth it. (Don't worry! Not all of my shoes are in the closet yet)

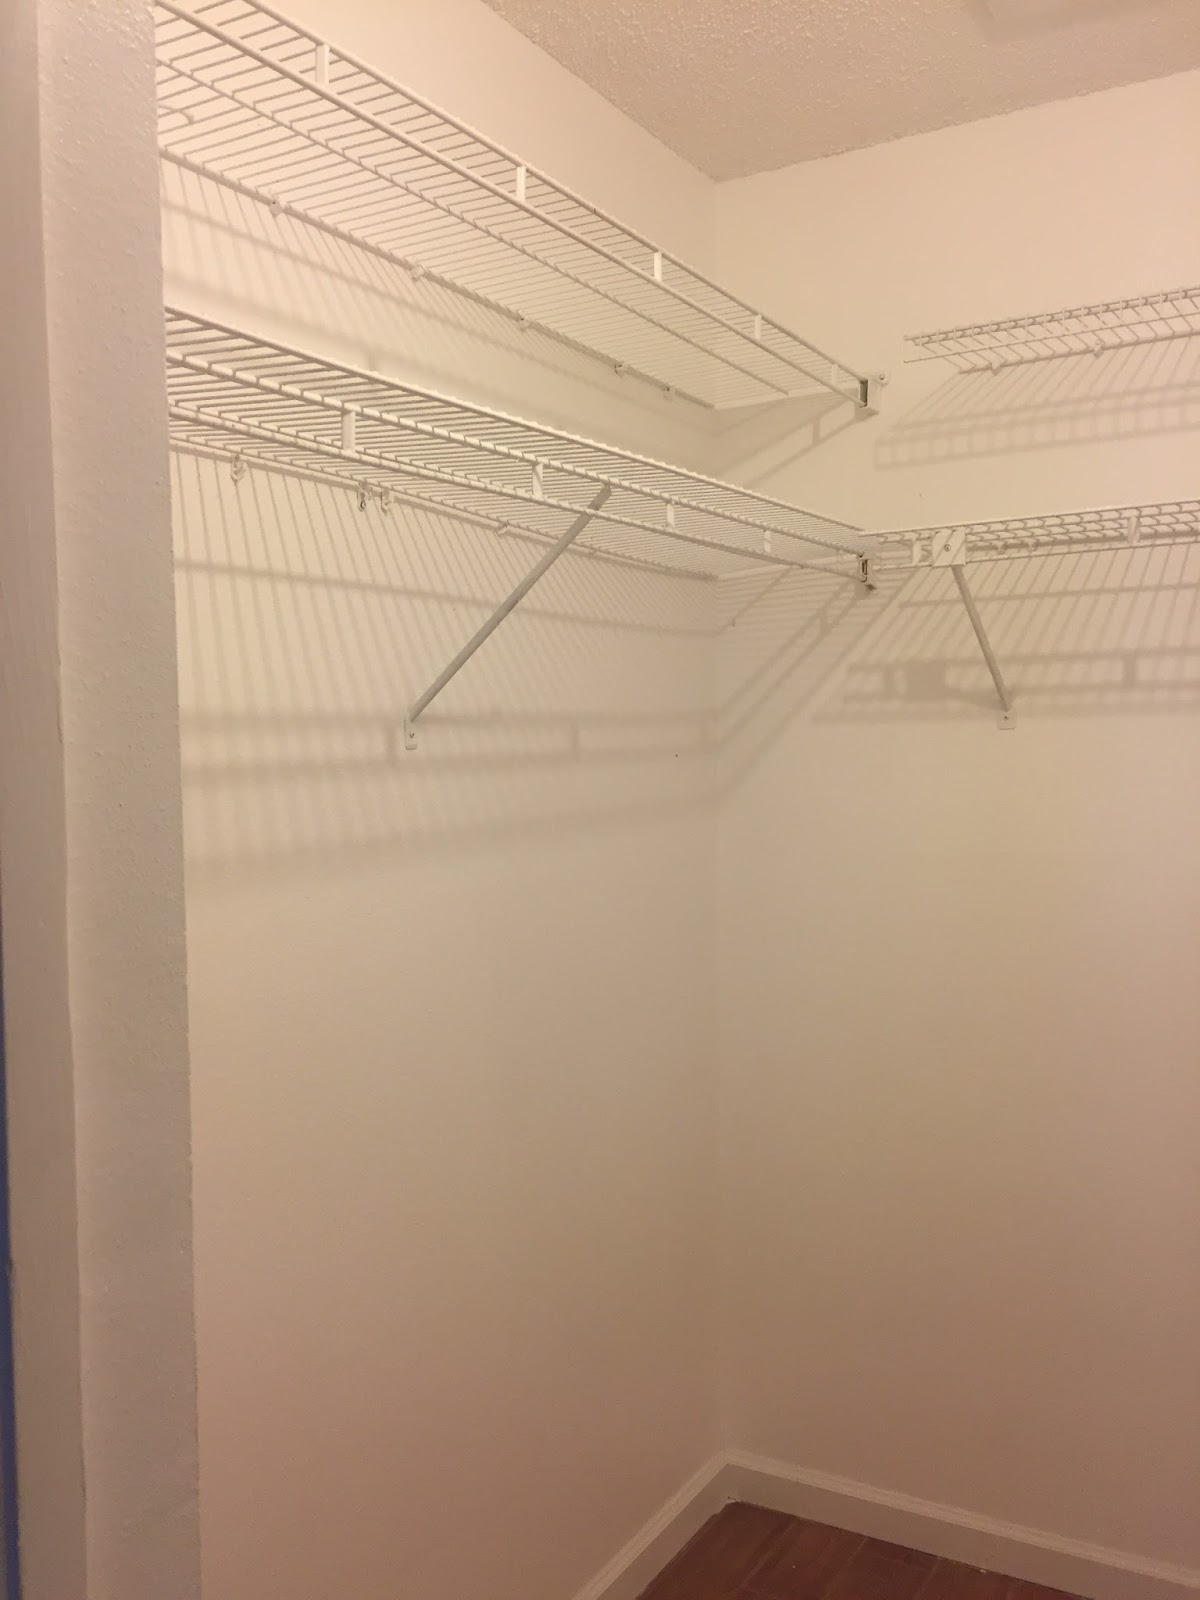
Seriously though, on what planet are these closet racks convenient or pretty? I can't stand them and they're just not useful.

I'm torn on if painting the wood first is a good idea. I did some of it and it ended up getting so dirty after we worked with it that I had to paint it again. So, there's that.
We added all the 1x5 board to the walls. We had trouble with studs so this is where it became a pain. That and my wood was thicker so it became harder to screw in. The 1x5 is what starts the shelving and what will hold your clothes. So make sure it's attached to studs.
Then, we added the 1x12 (yes, I bought the right wood here LOL) to build some of the shelves. We nailed it in to keep it secure.
You may notice my husband's side of the closet is higher than mine. His clothes are longer so I wanted to make sure he had room. It's a bit close so make sure you measure where you want your clothes to go first.

The shelves were pretty easy. (I'll add baskets later.) Cut the wood and nail it in. Always make sure you're taking good measurements. Most of this needs to be precise.
My closet measurements were a bit different then the blogger I followed. So, we had to get the expandable rods to hang the clothes. I don't think that changed anything but just something to keep in mind.

Then we started the shoe rack.

Then, we attached it to the wall. With a baby on the way I just didn't want to risk it. I did the shelves about 6.5in apart except for the bottom. I'm going to get a cute laundry basket to go here. And on the top I wanted some room for boots.

I painted the wood that I didn't paint first. It really wasn't that hard but it was kind of pain. Let it dry for 3-4 days and then started putting things in place! It looks kind of uneven in this picture but I everything was level.
Then, we just added our the top bar for our clothes! Hmm.. I guess I actually made this sound easy.


